Linear Actuator Installation Manual

Follow these step-by-step instructions to properly install your Hoodland linear actuators. Proper installation ensures optimal performance and longevity, especially in industrial environments.
Always disconnect power sources before beginning installation. Ensure all equipment is properly secured and stable during the installation process.

Preparation for Installation

Proper preparation ensures a smooth installation process and prevents damage to components or equipment

Verify these items before starting installation:

Watch Installation Preparation Video

Installation Resources

Additional guides, videos, and documents to assist with your installation.

Downloadable Installation Documents

Installation Manual

Comprehensive guide for all models

Wiring Diagrams & Schematics

Electrical connection guides for all voltage options

Troubleshooting Guide

Common installation issues and solutions

Installation FAQs

Answers to common questions about installing hoodland linear actuators.
1. What torque should be used for mounting bolts?
Recommended torque values depend on bolt size and material. For M8 stainless steel bolts used in most applications, we recommend 25-30 Nm. For M10 bolts, use 40-45 Nm. Always refer to the specific installation instructions for your actuator model and use a torque wrench to ensure proper tightening. For vibrating environments, apply thread lockers to prevent loosening.
2. How much clearance is required for the actuator during movement?
You should allow a minimum clearance of 25mm (1 inch) around the entire actuator throughout its full range of motion. This includes space for electrical connections and debris protection. For applications with significant vibration or equipment movement, increase clearance to 50mm (2 inches) to prevent contact with other components during operation. Always verify clearance with the actuator both fully extended and retracted.
3. Can the actuator be mounted in any orientation?
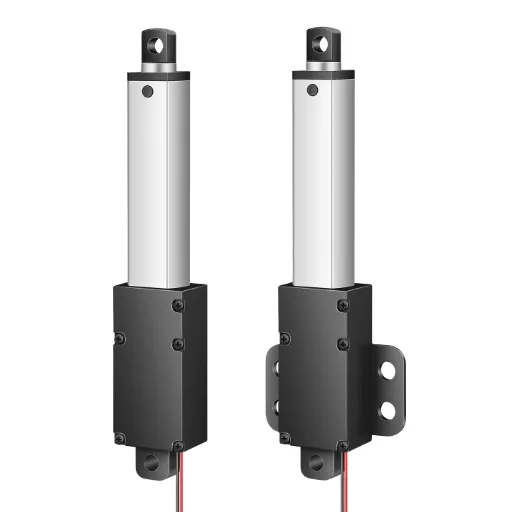
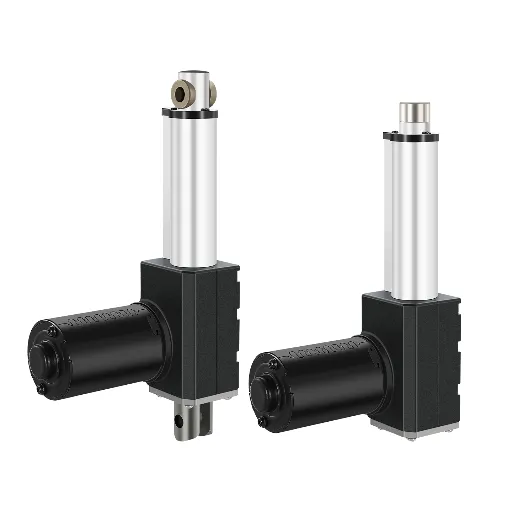
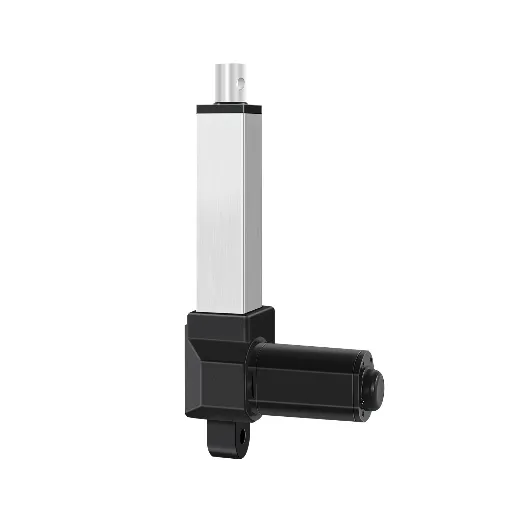
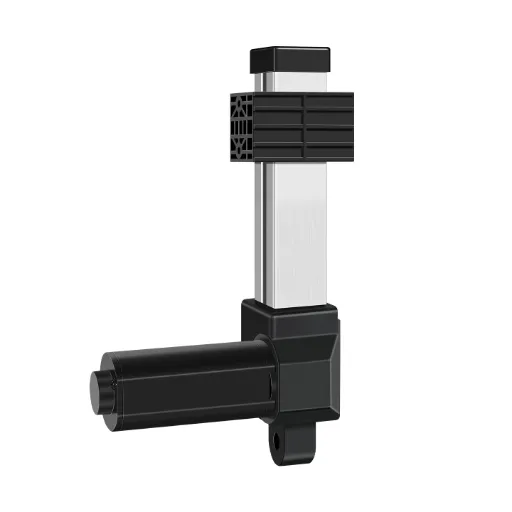
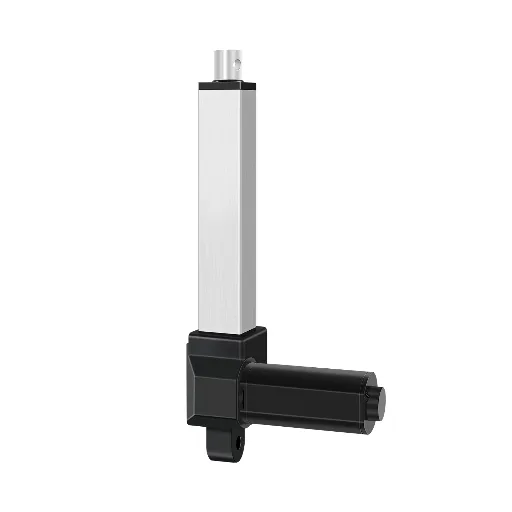
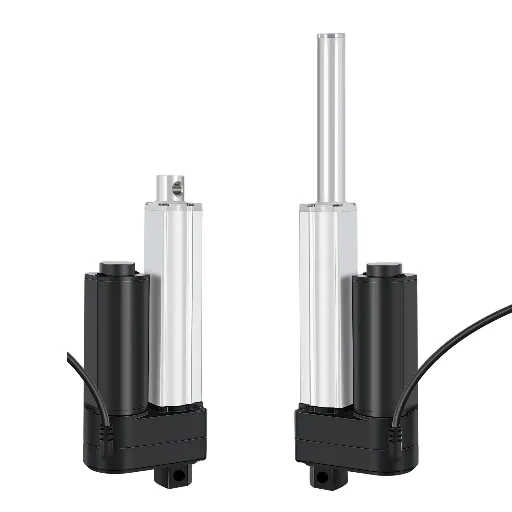
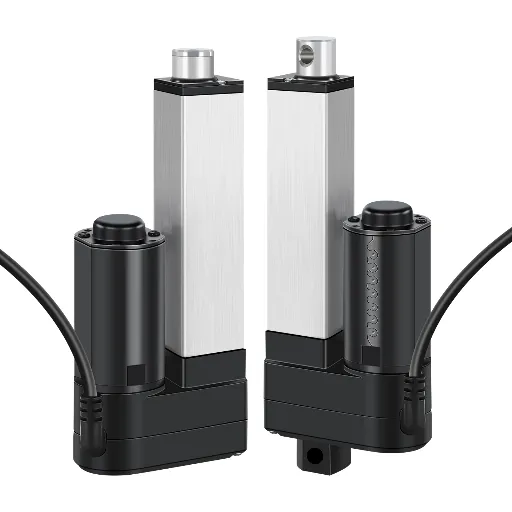
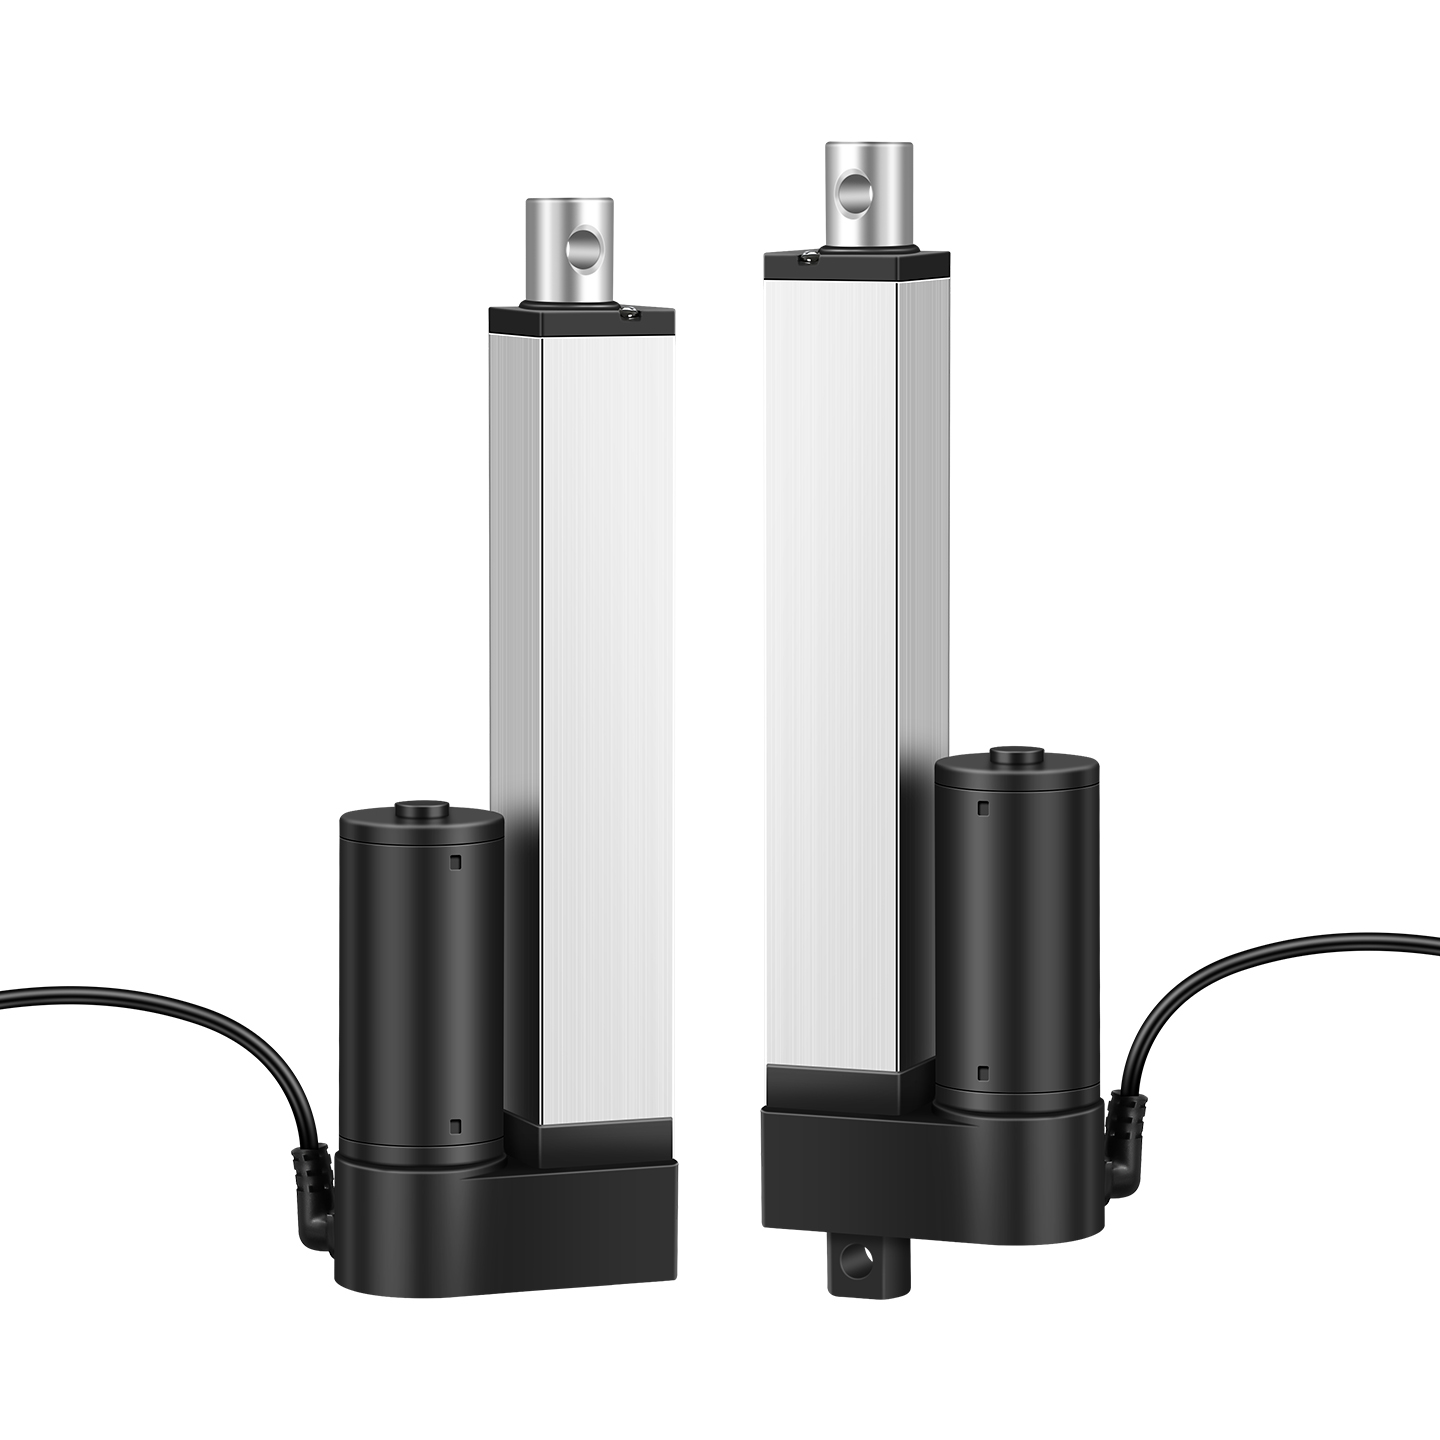
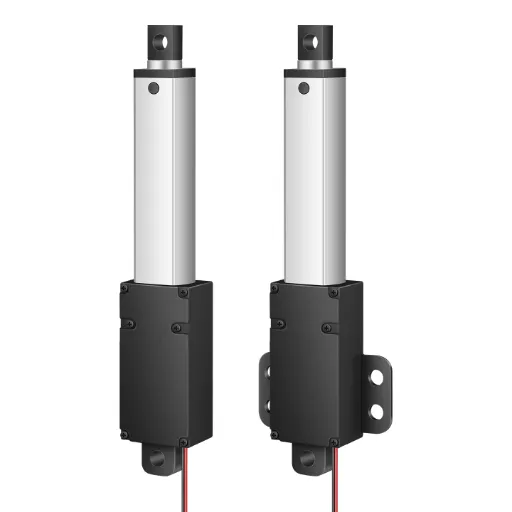
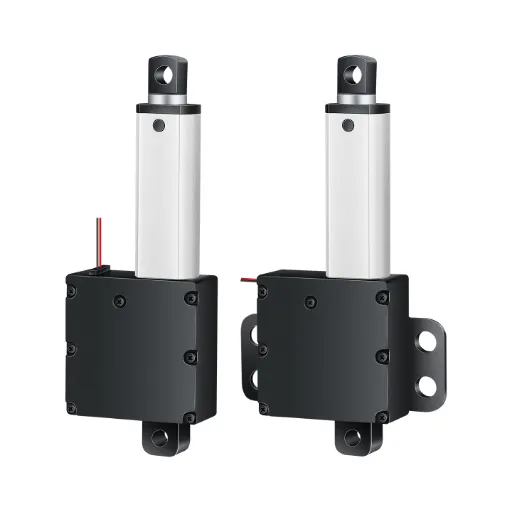
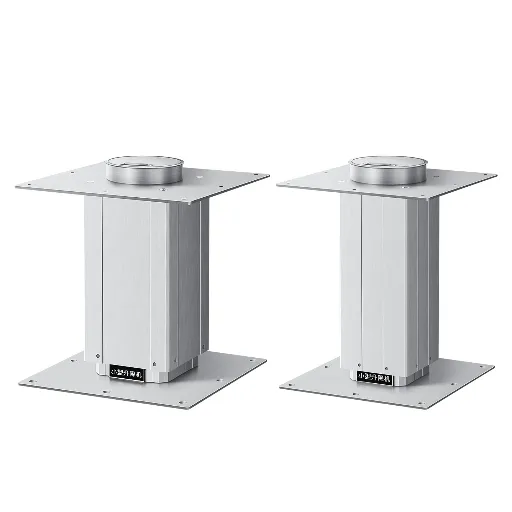
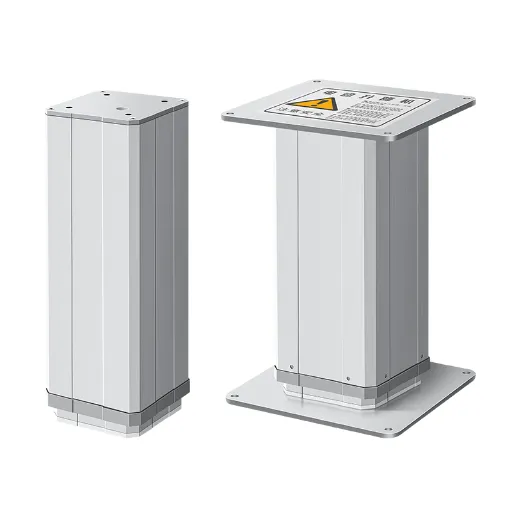
Linear actuators can be mounted in any orientation (horizontal, vertical, or angled) as long as proper alignment is maintained. However, for vertical installations where the actuator supports a load in the extended position, we recommend using a holding brake or mechanical lock to prevent movement in case of power loss. When mounting vertically with the rod pointing downward, ensure proper drainage to prevent water accumulation around the rod seal.
4. How to verify if the actuator is properly aligned after installation?
A properly aligned actuator will move smoothly through its entire range without binding, unusual noise, or visible deflection. To verify alignment:
 
  • Extend and retract the actuator through several full cycles
  • Listen for any grinding, clicking, or scraping sounds
  • Check for uneven movement or hesitation at any point in the stroke
  • Inspect mounting hardware for signs of stress during operation
 
If you notice any of these issues, loosen the mounting hardware slightly, readjust the alignment, and retighten.

Need Installation Assistance?

Our actuator technology specialists are available to help with your installation questions or challenges.
Schedule a video call for visual installation support

Get in touch with our sales team.

Click or drag a file to this area to upload.